Mix preparation

Now that i’ve tracked all of the required parts for this project I can now begin looking at the mixing process. However before I do, I want to make sure that the session is properly organised so that its manageable and I can give the song my full attention. Chris Lord-Alge recommends keeping this part completely separate from mixing and to look at it from an arrangement point of view. That way you can begin to mix them later with a fresh perspective.

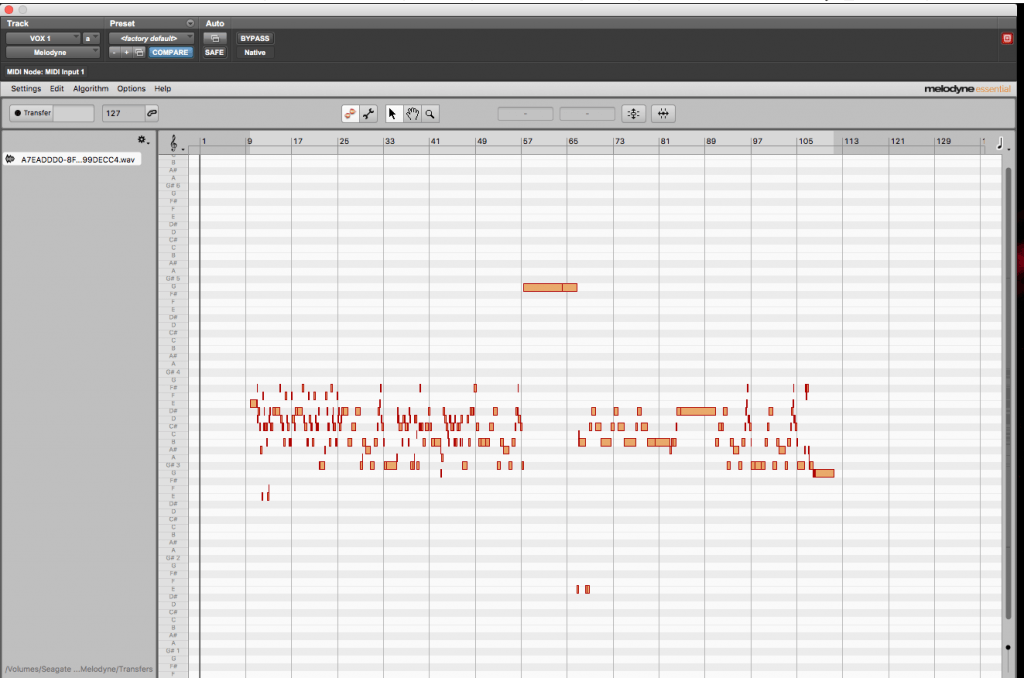
As i’ve already been doing all of the necessary editing, tuning, timing, comping and consolidating prior to this, this process wasn’t as time consuming as it could have been as I’ve been staying on top of it through out the project. However, there were still a few things that I needed to do.

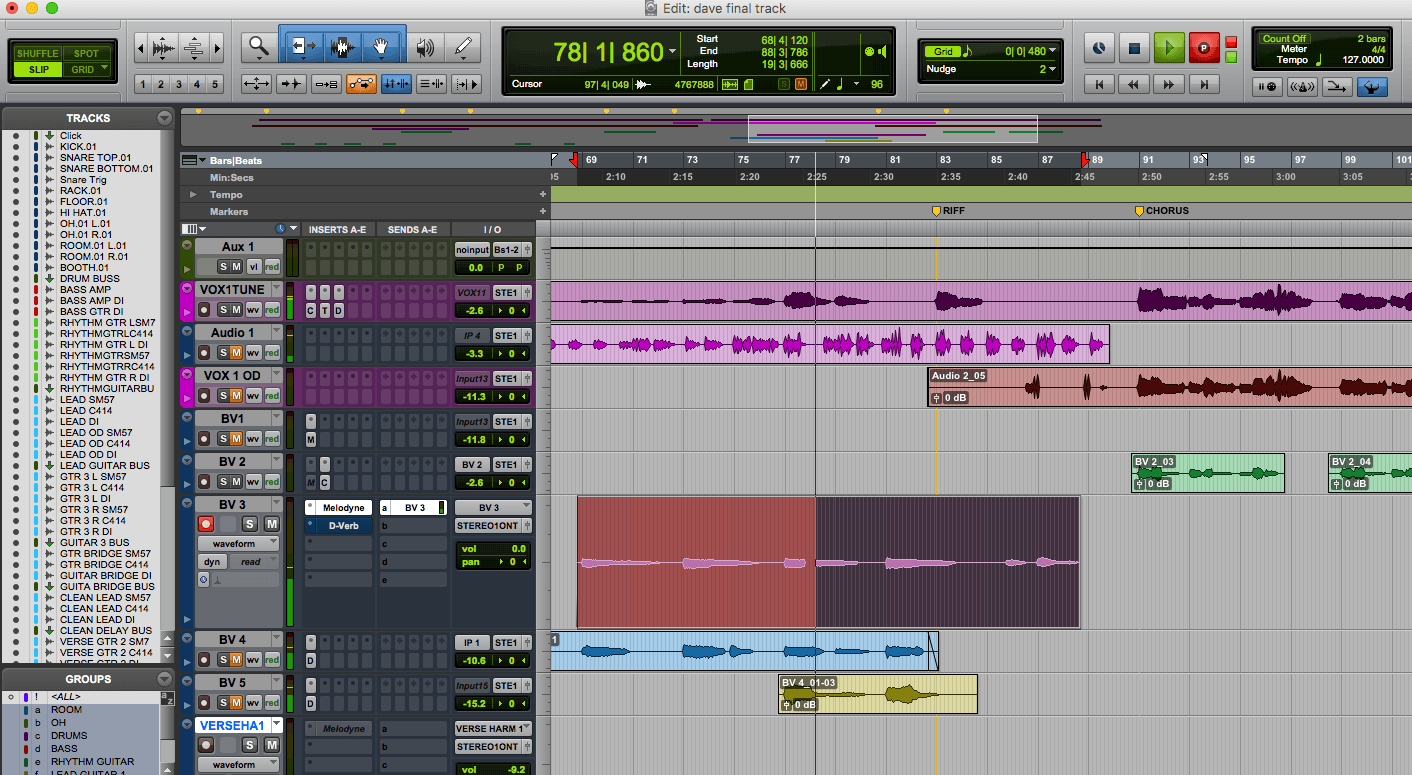
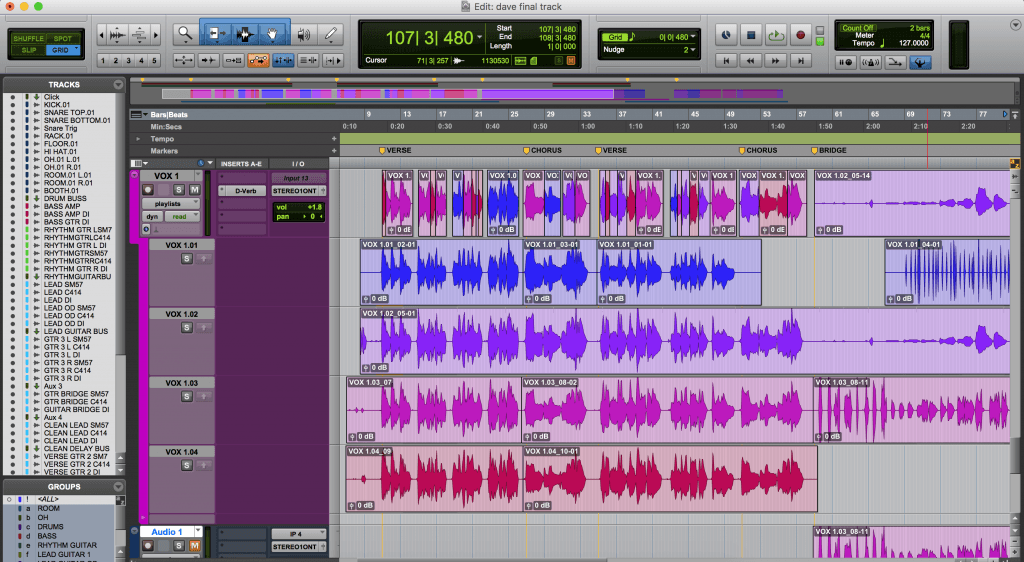
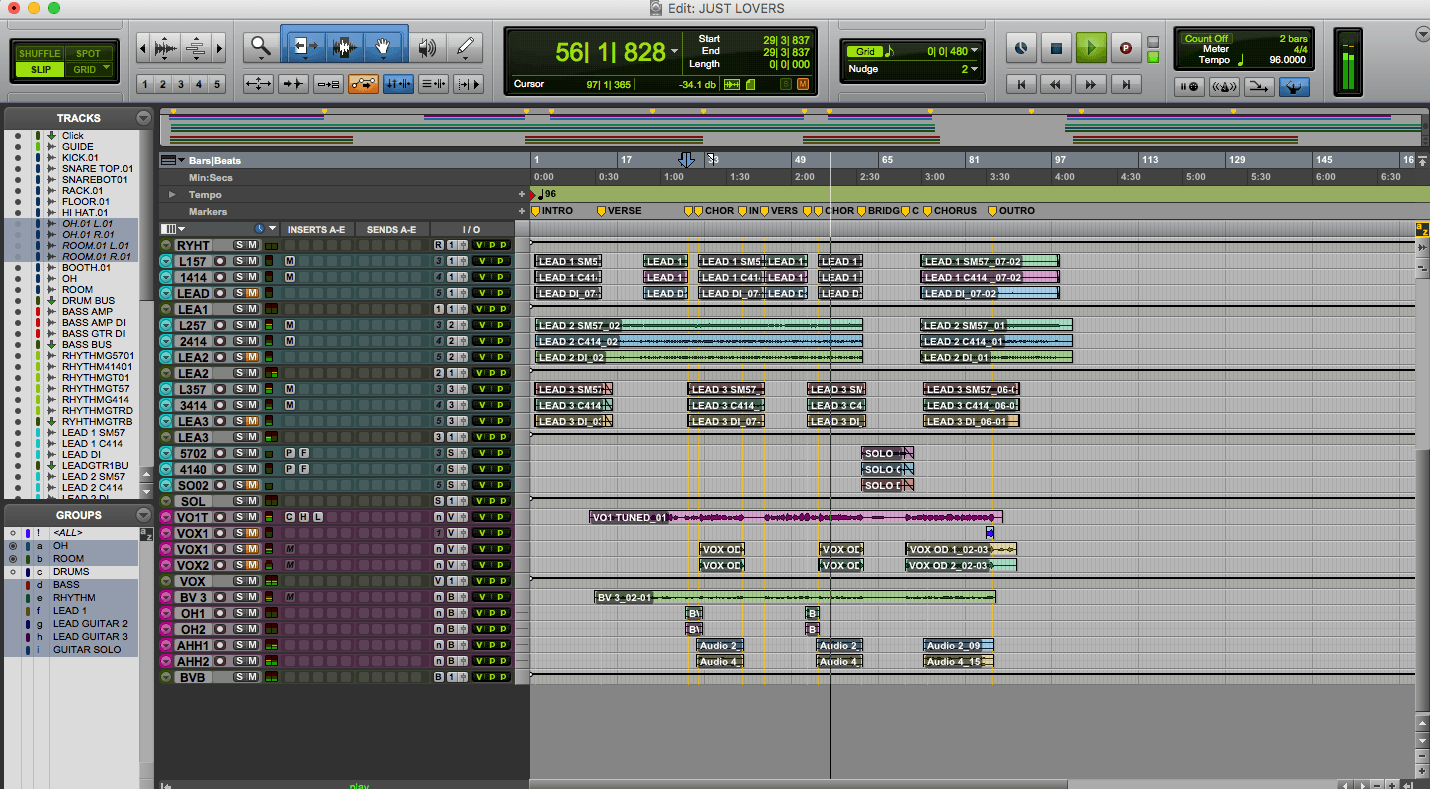
Using some techniques from the masterclass with Chris Lord-Alge I wrote about in an earlier blog post, I began by colour coding all of tracks to colours that worked for me. This meant that I would know where everything was without having to read all of the track titles. In Mike Seniors book ‘Mixing Secrets’, he emphasises the importance of this point by saying that the brain reacts much quicker to colours than words.
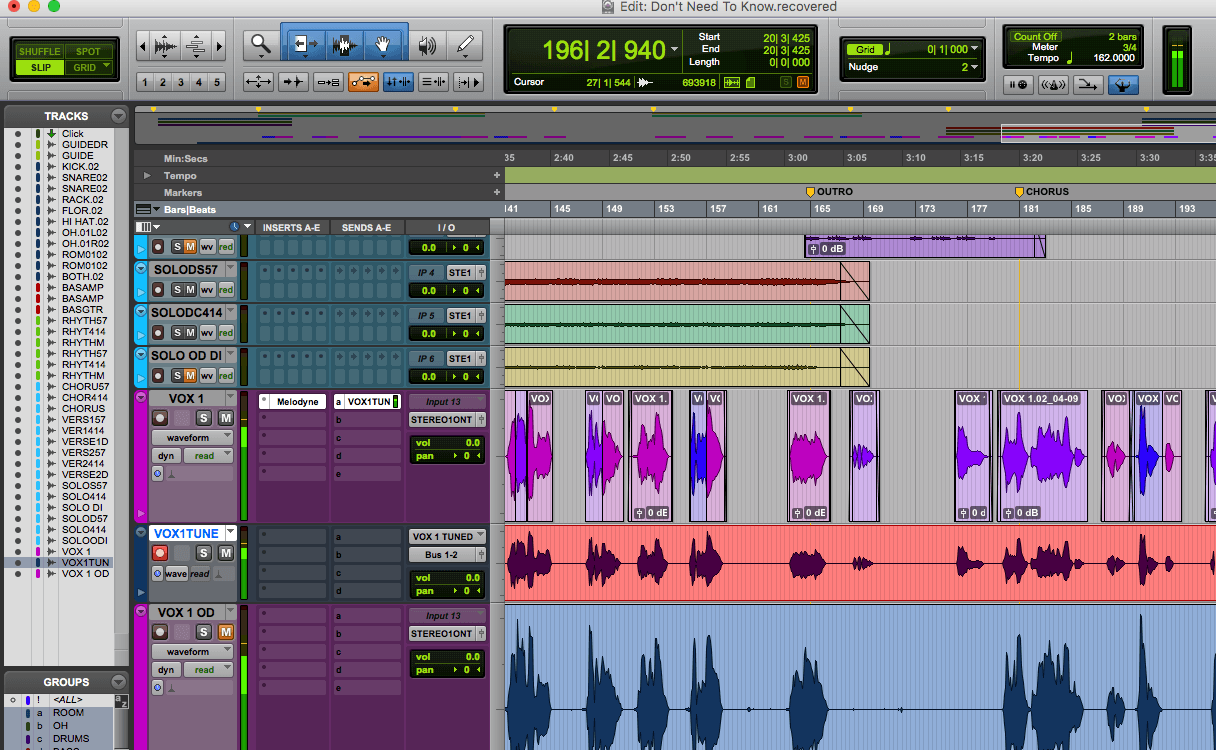
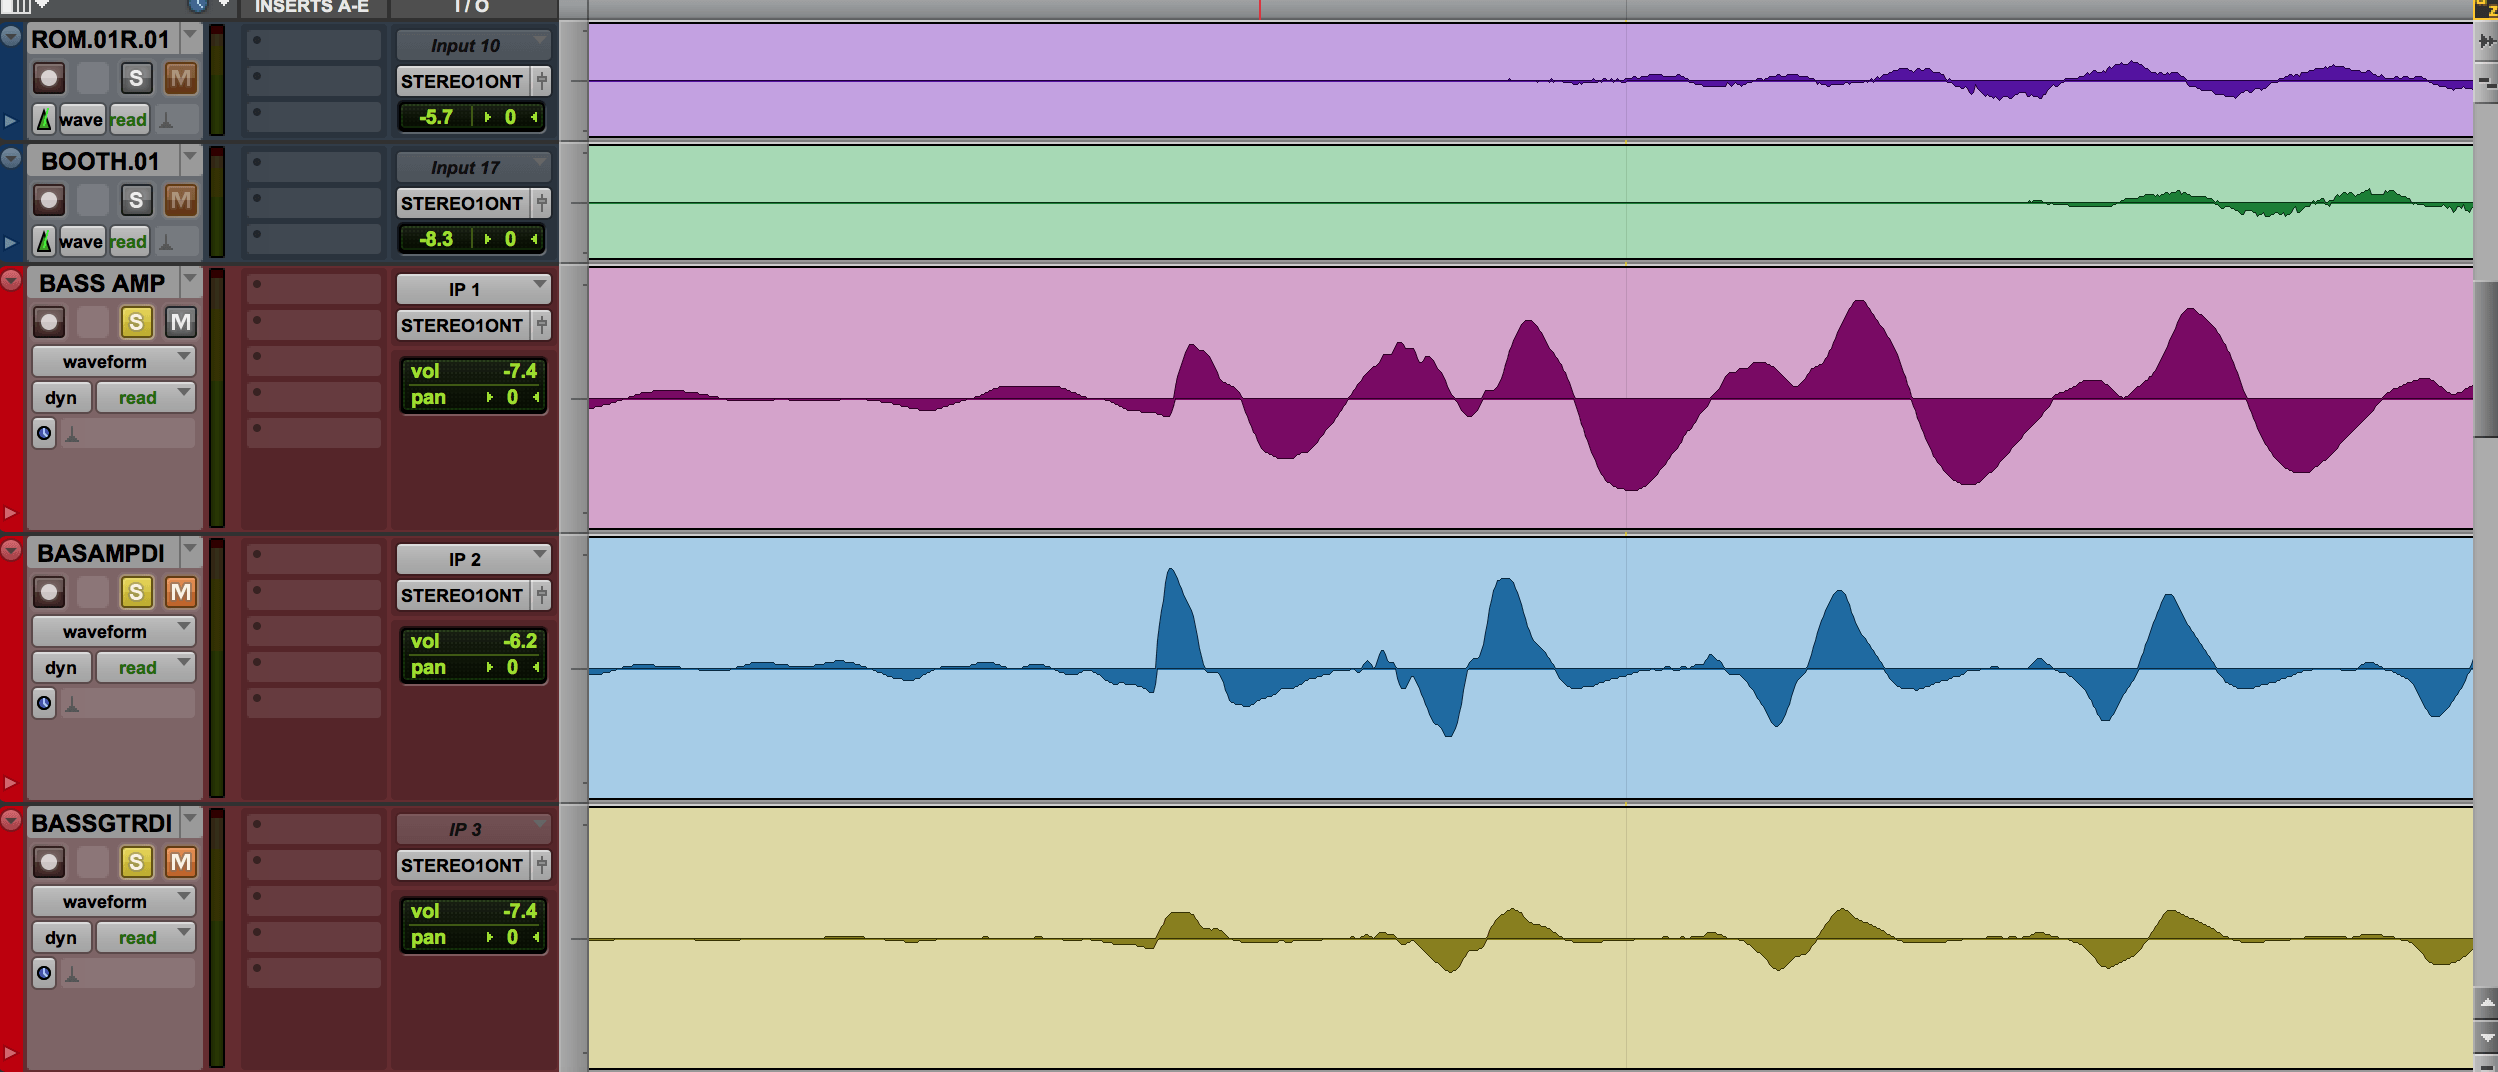
I then began removing any silent or unwanted regions in my tracks that I may have missed to avoid unwanted bits of audio leaking through and then continued to fade or cross fade them all to avoid any pops in the audio files. My next step was to condense my session down by combining mono tracks into stereo tracks, removing un-comped versions of different tracks and removing any DI tracks that I wouldn’t be using for the mixing session. Doing this also meant that I wouldn’t have to compromise any parts of my session.

The final task to complete for my mix preparation was to send my tracks to busses or to ‘sub mixes’ as Mike Senior refers to them. This is very useful as it allows me to use processing such as bus compression on the drums and mix bus as well as allowing me use EQ for multi-miced tracks such as the guitars, meaning that i’ll use less plugins and processing power on my computer.

Now that i have completed this task, mixing the tracks should be a lot easier and accessible and I already feel more confident going into the mixing stage compared to other projects I have worked on. This is mainly because I have previously done some minor mix preparation, but not to the extent that I have done with this one.

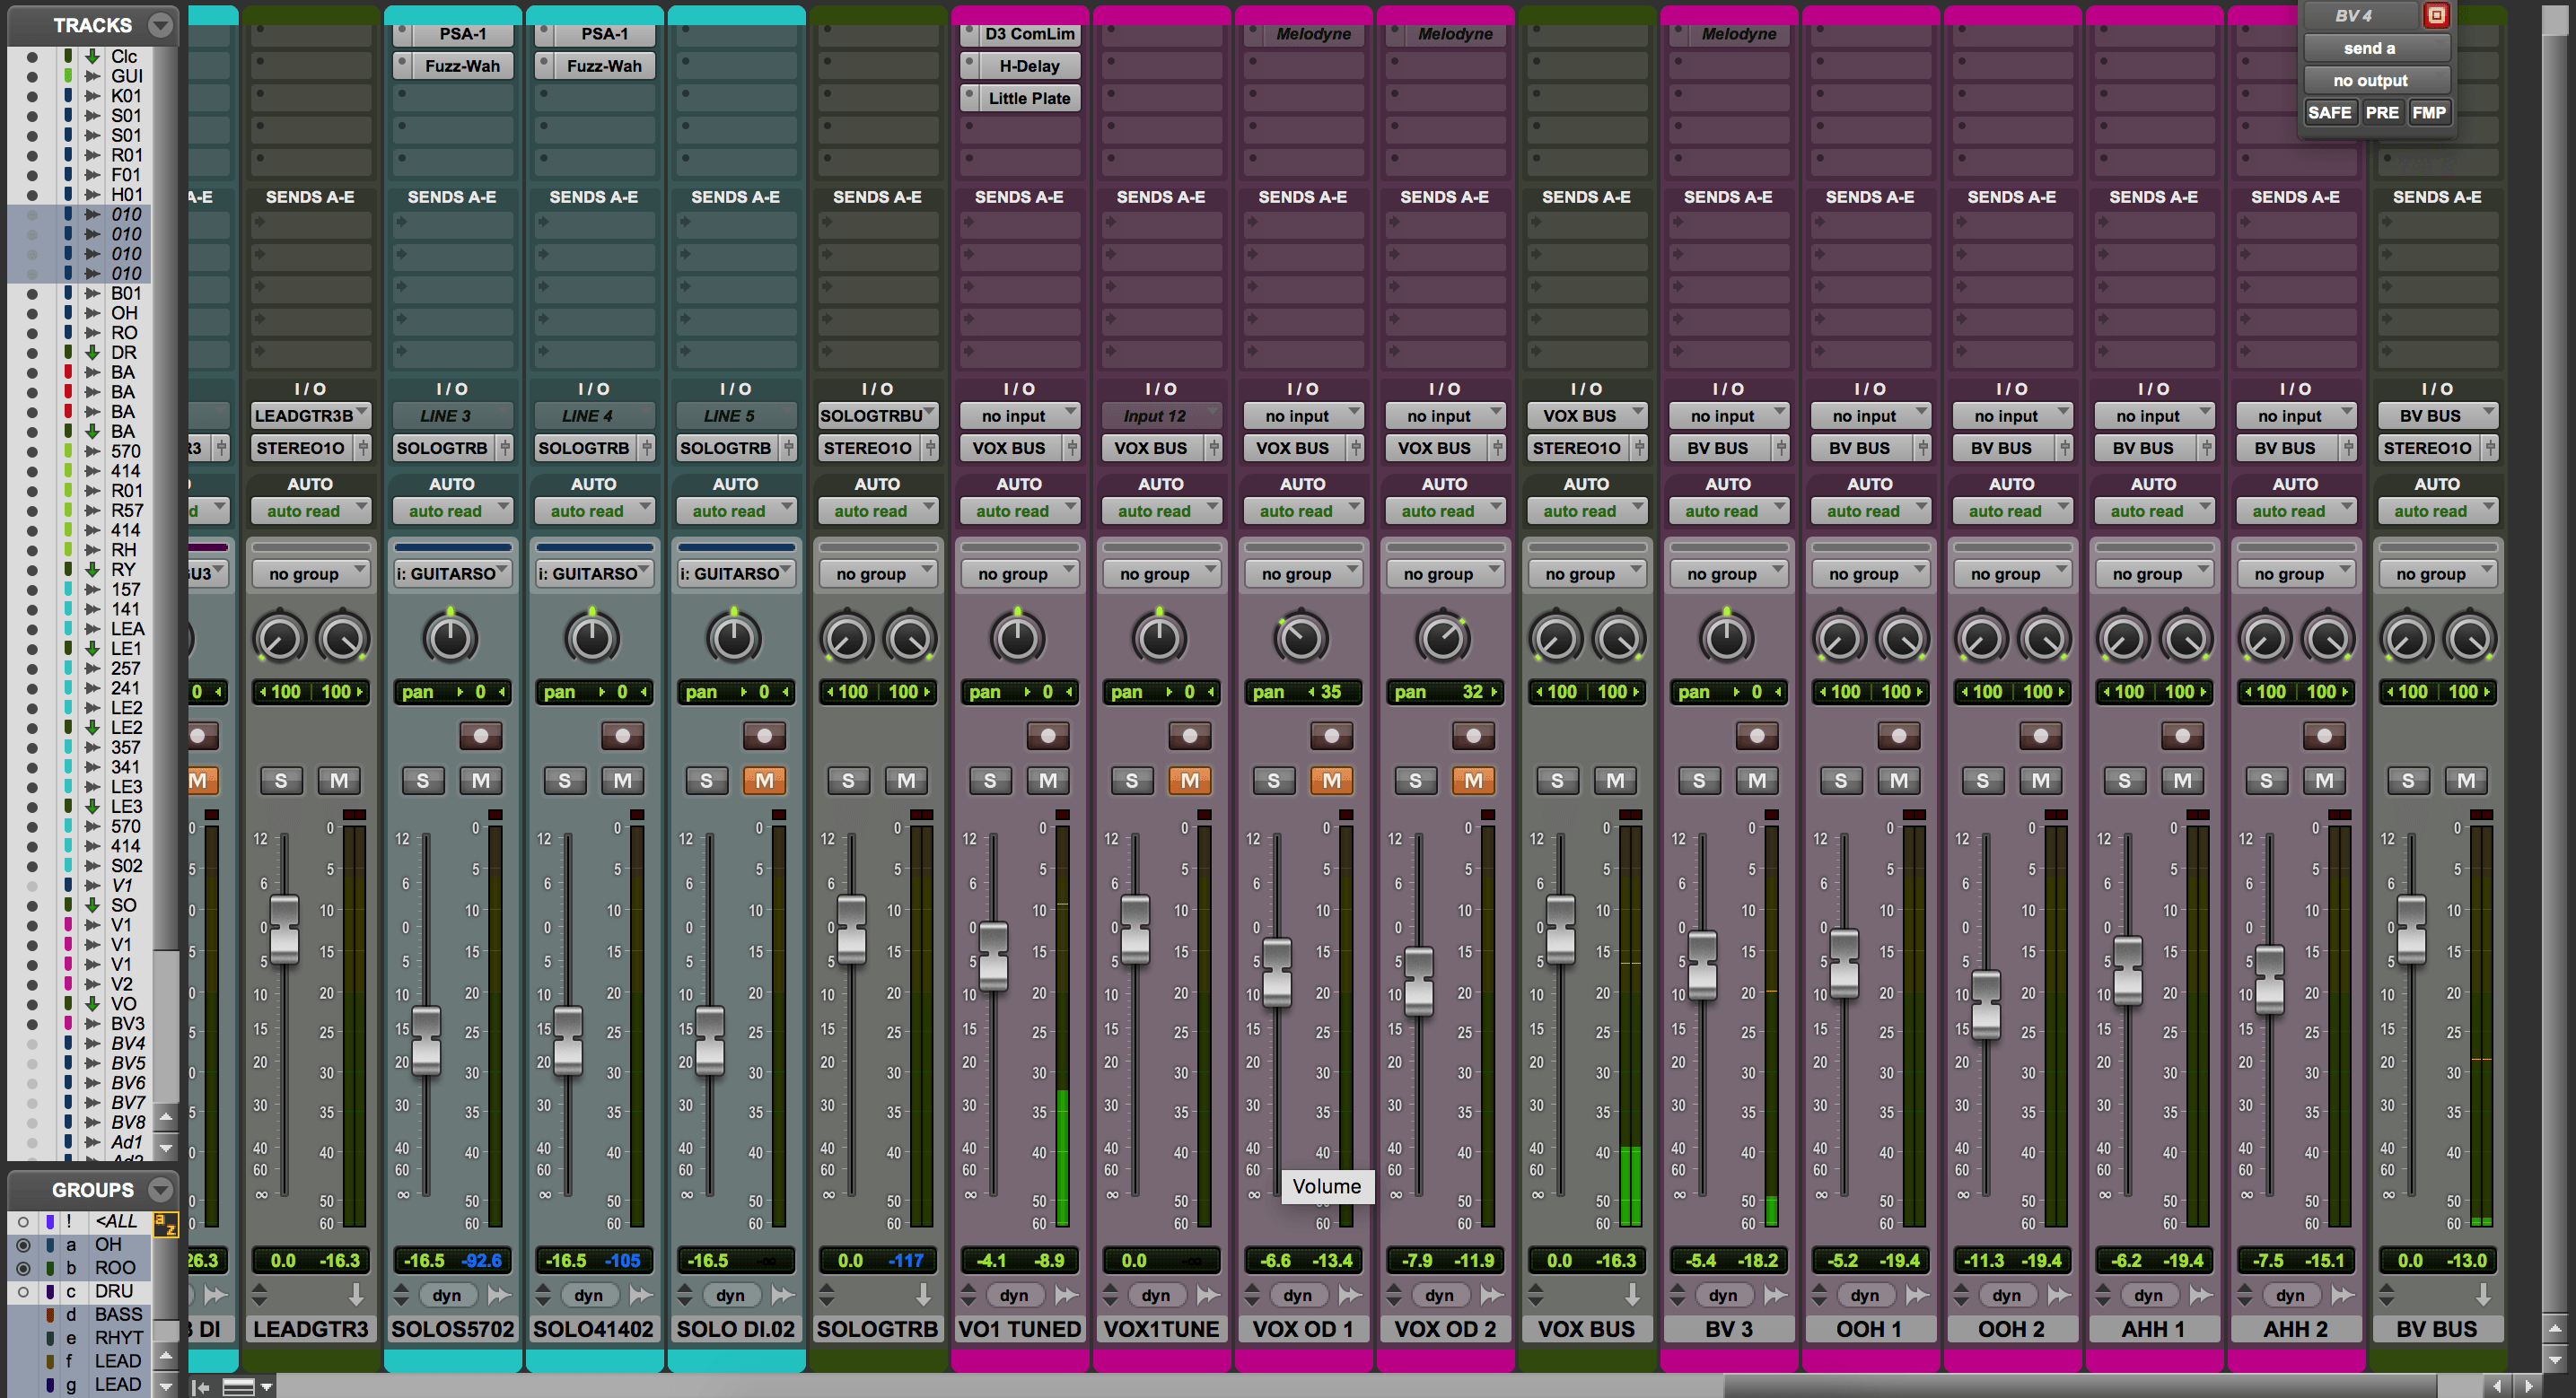
Here are two screenshots of the mix and edit windows of my session after completing the mix preparation.

Screen Shot 2017-12-07 at 19.24.10

Screen Shot 2017-12-07 at 19.24.28


Mixing Secrets – Mike Senior

Prep work before mixing – Chris Lord-Alge https://youtu.be/Q2_8qkjoxcU


Backing vocal editing

After my recording session at UPR, my next task was to edit, comp and tune all of the backing vocals that I had recorded.

A lot of the techniques applied here were similar to the ones I used in the lead vocal editing post. I began by removing any unwanted bits of audio and used fades to remove any pops. The next step was to run all of the backing vocals through melodyne in an attempt to tighten them all up. Melodyne proved very beneficial here as it helped them sit better alongside the lead vocal, especially the harmonies, and it allowed me to be more aggressive with the tuning as they were going to sit lower down in the mix compared to the lead vocal.

I then recorded the track back on to itself via a send as oppose to recording it onto a new track. Although this is more destructive, I can still keep melodyne inactive on the inserts section which allows me to return the file to its original state if I do ever need to revisit them. Keeping melodyne inactive also prevents it from using up unnecessary power on my computer.

Screen Shot 2017-12-03 at 23.04.51


Lead vocal editing

Now that I have numerous takes of all the lead vocal tracks, I can now begin selecting the best parts and get rid of all of the unwanted parts.

I began by going through each vocal line of each track and chose the best take which then went onto a separate playlist. Doing this provided a much more consistent vocal track and was already more pleasing to the ear. This is a technique i’ve witnessed first hand from Neil Haynes at The Parlour Recording Studio when my own band band worked with him and is something i’ve applied to my own work ever since. Chris Lord-Alge also emphasises this point and suggests that its crucial for keeping your session organised and manageable. I then ran the comped vocal track through melodyne to fix some tuning issues which were missed in the comping stage. Running the vocals through melodyne at this stage helped them sound more natural when being tuned as the notes were already closer to the desired pitch. I’ve previously found that the more out of tune the vocals are, the more artificial they sound when correcting them.

Screen Shot 2017-11-22 at 23.44.14        Screen Shot 2017-11-22 at 23.59.18

Once I was happy with the melodye that I had applied, I then recorded the audio out to a new track so that I could hide the original track track and make it inactive. I did this because i didn’t want melodyne to constantly be using unnecessary power from my computer and to ensure my session was more organised. Doing it this way also means that i’ve also got the original files if I did ever need to revisit them for some reason.

Doing all of the editing, comping and tuning at this stage will save a lot of time and effort as appose to doing so just before the mix stage and is something that Mike Senior highly recommends doing as part of the mix preparation.

Screen Shot 2017-11-27 at 18.43.14


Mike Senior – Mixing Secrets

Guitar editing

To ensure my workflow stays as effective as possible, I spent a few hours before vocal tracking editing all of the guitar takes I had recorded. This is a similar process i did for the bass editing.

First of all I made sure all of the different takes had been comped and cross faded into one another to avoid any weird pops and to ensure all of the edits were smooth.

Although I made sure that both mics were the same distance away from the amp during the recording process, I still checked the phase alignment, especially against the DI signal, of the two mics and ensured they were both fully in phase with one another. This led to a more effective vocal session and again, will save work before the mix stage.


Screen Shot 2017-11-08 at 14.36.24

Bass Editing

Now that i’ve recorded all of the bass parts, I wanted to make sure that they were edited and comped before moving onto the guitar tracking process. I’m also doing this to maintain an effective workflow and to save a lot of effort when it comes to the mix stage.

I began by sorting through all of the takes we had recorded and then cross fading them into one another to avoid any unnecessary pops. I then removed all of the unwanted parts (parts where dave wasn’t playing and you could just hear the hum of the amp etc) and consolidated them all into one piece of audio per track. I then went through all of the bass tracks and altered the phase alignment as I was noticing a bit of cancelation with the bass amp track compared to the DI track. Once I had done this, by removing all of the cancelation it meant that I could clearly hear the sound of each track more accurately. These are similar steps that Chris Lord-Alge recommends on his latest Waves webinar.

With the bass edited, comped, consolidated and phase aligned, it now means that we are ready to begin the first session of guitar tracking.

Screen Shot 2017-11-08 at 14.03.54


Mixing Masterclass With Chris Lord-Alge https://www.waves.com/mixing-masterclass-chris-lord-alge