Vocal Mixing

As i’ve previously mentioned, a big area that I want to focus on for this project is implementing new techniques into how I tackle my vocal production in the mixing process in an attempt to improve the overall tonal qualities and how they sit in the mix.

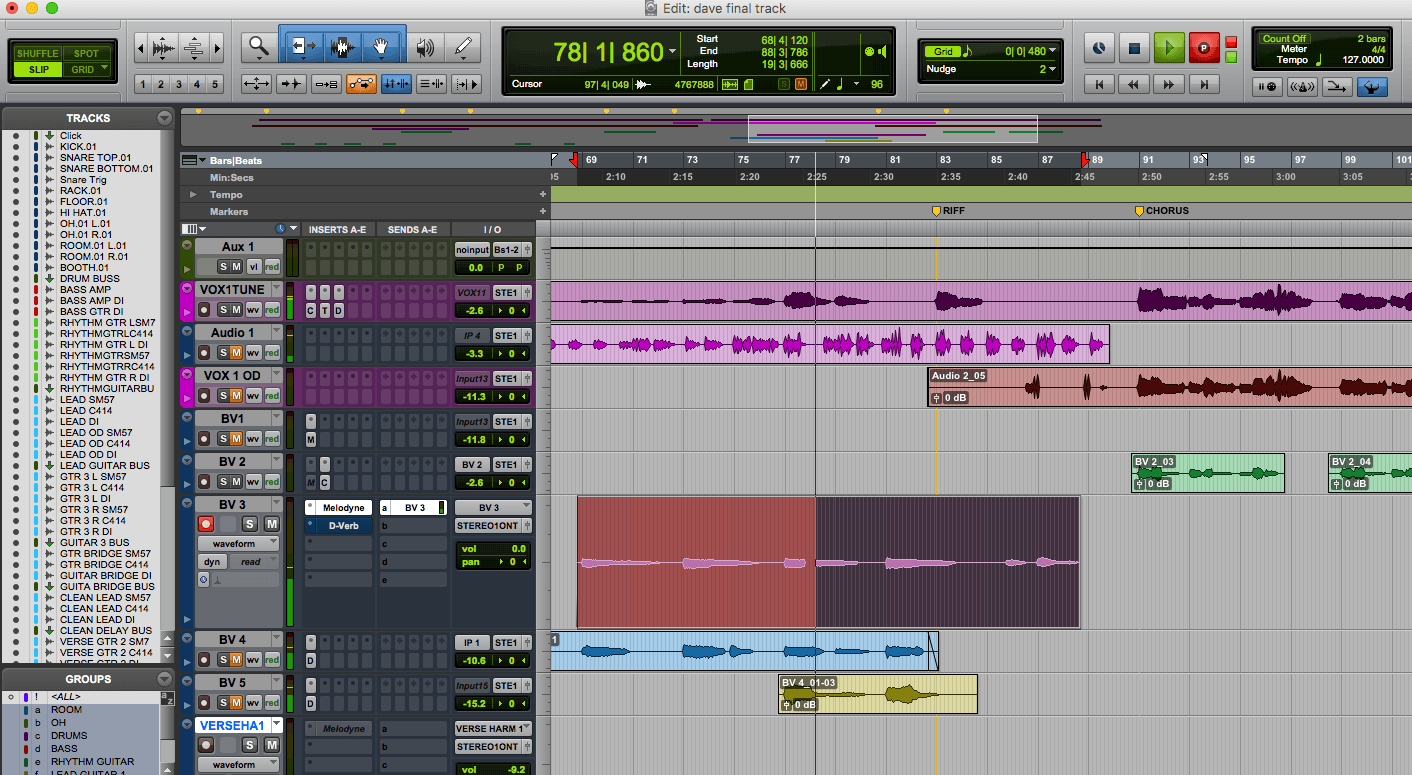
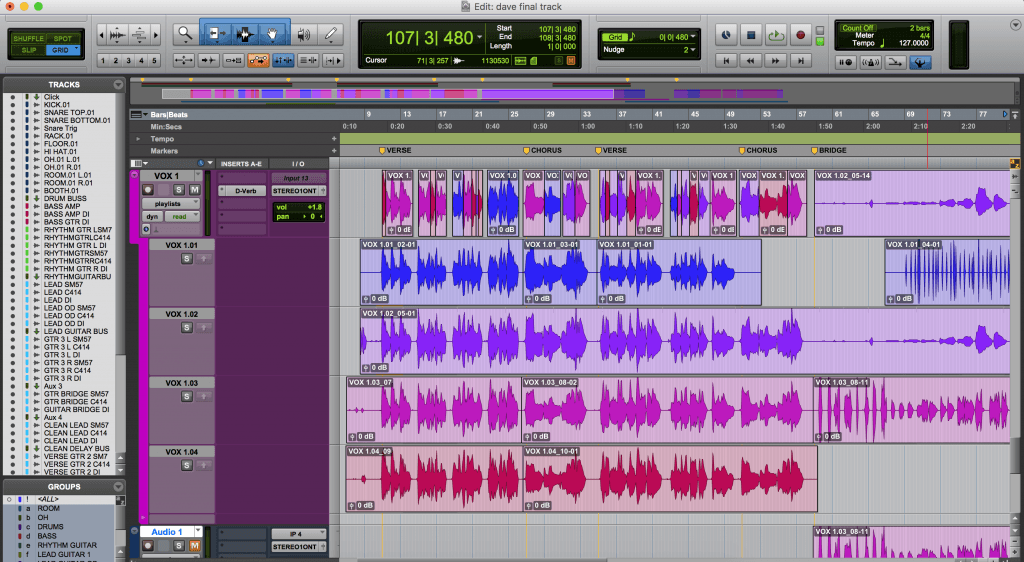
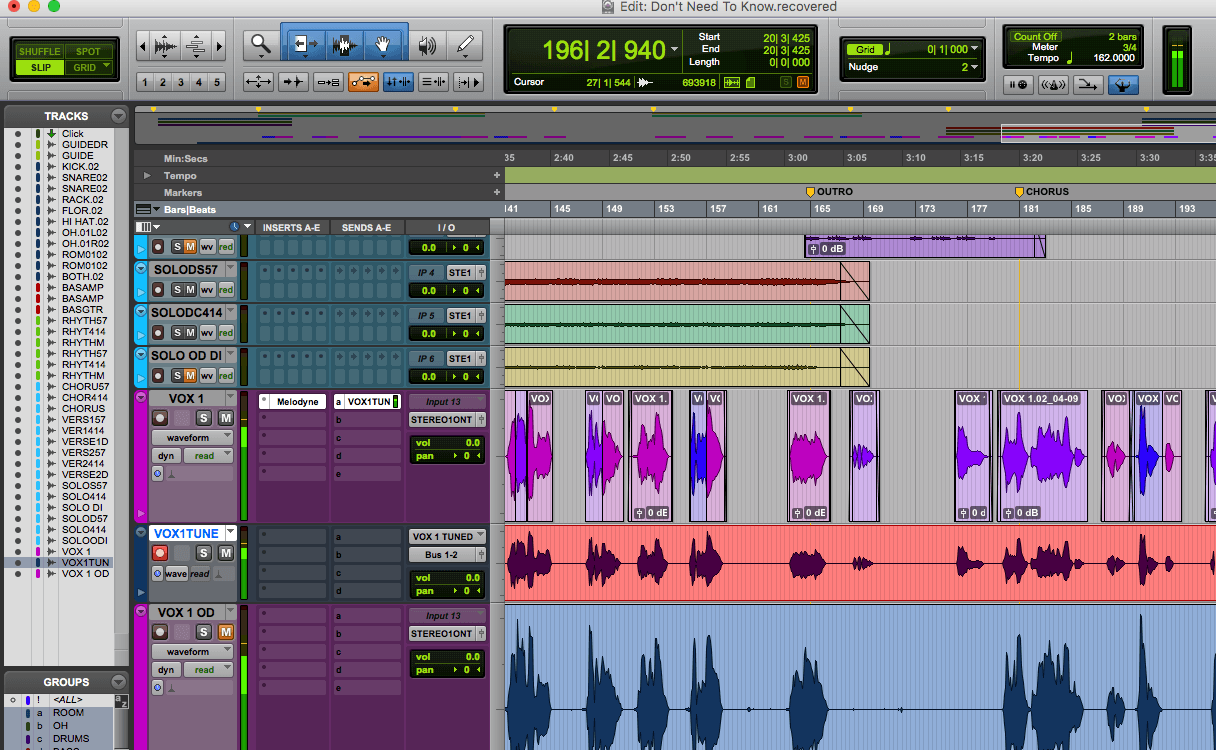
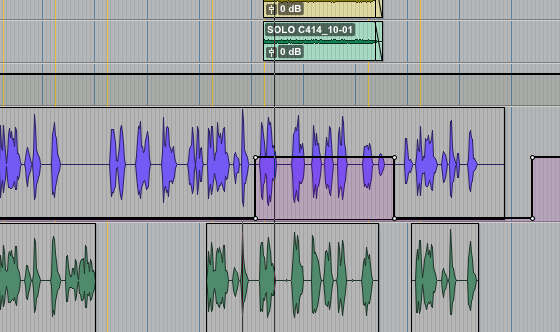
Now that i’ve got my comped and tuned vocal tracks, I began by separating the verses from the chorus’s on Follow Me mainly because the volume and tone of Dave’s voice changes quite significantly. This is something that Tony Maserati also recommends doing so that you can apply different EQ and compression treatment to the different sections and I have personally found it quite beneficial doing so. I did however keep the main vocal on the same track for the rest of the songs as Dave’s voice retains the same tone and level throughout.

My main tool for vocal processing was the SSL G-Channel, mainly because it has everything I need for processing vocals, it has more of a coloured sound compared to the stock Pro Tools EQ and reduces the overall amount of plugins in my project. It also allows me to apply EQ before compression which is something I want to do based on Chris Lord-Alge’s previous masterclass.

Each vocal was given a HPF to remove everything below around 90hz to prevent the build up of LF and to make space for other instruments that would be occupying that area of the frequency spectrum. Then, using more techniques from Tony Maserati and Jimmy Douglas, I applied some LMF reduction between 200-300hz to remove some of the ‘muddy’ and ‘boxy’ sounds and to increase separation with some of the other instruments, especially the bass and guitars. From this I proceeded to add some top end at around 7-8khz to add some shine and brightness to really help it cut through the mix. I’ve also found that by using the SSL to add top end as oppose to the Pro Tools stock EQ, the vocals sound a lot warmer where as i’ve found that the Pro Tools EQ can make things sound a little fizzy and thin when boosting in this frequency range.

I then decided to add some more compression into the vocal signal path. However I didn’t want to go too over board here as I already applied compression in the tracking stage and applying too much would make it sound squashed and lifeless. All I did was use the compressor on the SSL G-Channel by setting it to a fast attack time in an attempt to catch some of the loud transients that the hardware compressor may have missed in the tracking stage. Any further volume changes that I wanted to make I made using subtle automation. Using this analogue modelled compressor also helped give the vocal more character and is similar to how Chris Lord-Alge uses the CLA-76, Jimm Douglas and the UA 1176 and Tony Maserati with the GML 8200. Before moving on to the next step, I also used a de-esser just to remove some of the harsh sibilance.

The next technique I wanted to implement into my work was something I had never really tried before but always wanted to. This technique was to use a form of doubler/harmoniser as an effect to add space and wideness to the vocals. There are many plugins on the market that do this to some extend however I was lucky enough to pick up the Waves Doubler at a very low price during a sale. By sending the vocals to the doubler via an aux input, it allowed me to mix in doubled versions of the track where I could alter the width, delay, pitch and the amount of modulation on the pitch. A similar technique is also used by Tom Lord-Alge who uses the stereo spreader in the SPL 9739 to create width in the vocal track. below is a picture of the basic setting I used on the doubler.

Screen Shot 2017-12-15 at 13.53.04

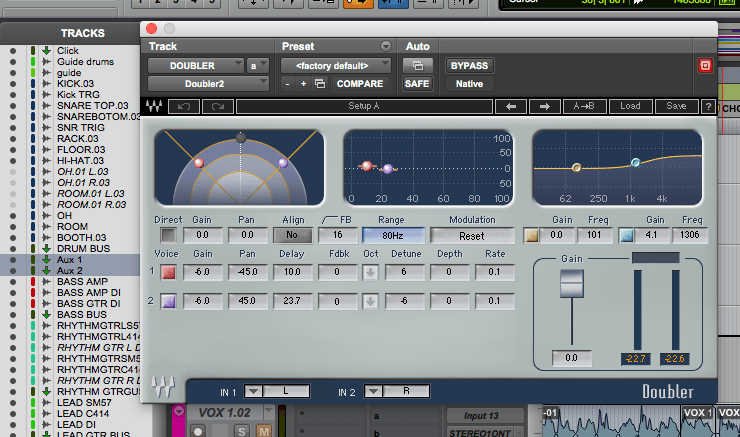
After looking at how Andrew Scheps uses doublers, I actually altered the rate and depth of the pitch modulation so that it didn’t remain on the same pitch all the time. Doing so added even more character to the vocals, especially during the bigger parts of the songs like the chorus’s and bridges. I did still use it on the quieter parts of the songs however not the same extent which I altered throughout the songs by automating the aux send level as you can see below.

Screen Shot 2017-12-15 at 13.52.46

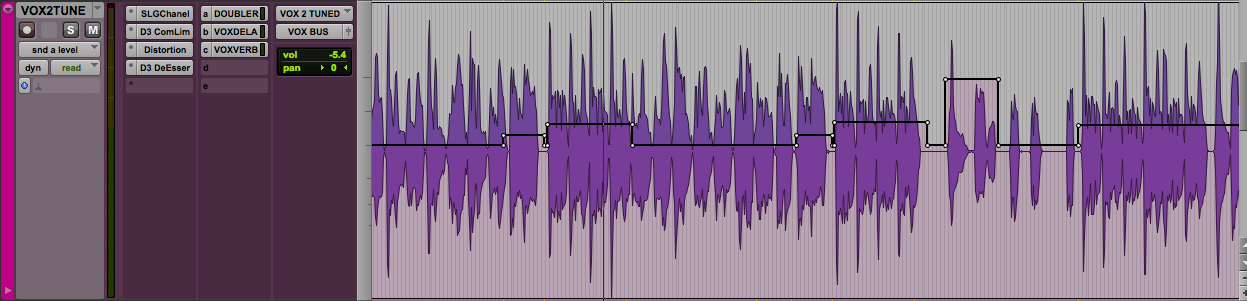
The final step for the vocal processing was to add delay and reverb to create ambience and more space. I had seen a lot of producers/mixing praising the H-Delay from Waves including Andrew Scheps and Mark Ronson and was able to pick it up on sale at the same time as the doubler. The H-Delay provided a very versatile amount of delay options which I could easily use in my project, plus the in built HPF and LPFs allowed me to use it without the need to add addition EQ to the aux track. I used the delay subtly and automated it throughout the songs to give certain sections and lines more character and variance. I also applied the same automation technique to the reverb send and even went as far automating the reverb time for different sections of the songs as you can see below.
A lot of the reverb used on the vocal track was the Sound Toys Tiny Plate. This mainly because I managed to pick it up for free on a deal and it included a low cut filter which, similar to the H-Delay, allowed me too roll off some of the low end to avoid a load of low end from running into my mix.

Screen Shot 2017-12-15 at 14.13.32

I have found that by implementing these techniques, especially the use of the doubler and analogue compression, I have produced and mixed some of the best vocals tracks I have worked on to date. Using the doubler has really helped bring life and width to the vocals and automating it through out the songs has made the songs sound a lot more interesting and exciting. When benchmarking them against Bonfire by The Hunna, I found that width and clarity was easily on par with their vocal production, especially when in terms of width and stereo spread.

In the Studio with Mark Ronson
https://www.waves.com/in-the-studio-mark-ronson?utm_source=wnletter&utm_medium=email&utm_content=studio-mark-watch-now&utm_campaign=weekend-newsletter-oct-13-2017-ronson-ms

Mixing Justin Timberlake Vocals – Jimmy Douglas
https://youtu.be/PpIanhvC9qw

Mixing James Blunt Vocals – Tony Maserati
https://youtu.be/SheIgGbB-5s

Spreading Vocals – Tom Lord-Alge
https://youtu.be/1QbtRkzfagU

Vocal Chain & FX – Andrew Scheps
https://youtu.be/zdxykjBFCv4

Backing vocal editing

After my recording session at UPR, my next task was to edit, comp and tune all of the backing vocals that I had recorded.

A lot of the techniques applied here were similar to the ones I used in the lead vocal editing post. I began by removing any unwanted bits of audio and used fades to remove any pops. The next step was to run all of the backing vocals through melodyne in an attempt to tighten them all up. Melodyne proved very beneficial here as it helped them sit better alongside the lead vocal, especially the harmonies, and it allowed me to be more aggressive with the tuning as they were going to sit lower down in the mix compared to the lead vocal.

I then recorded the track back on to itself via a send as oppose to recording it onto a new track. Although this is more destructive, I can still keep melodyne inactive on the inserts section which allows me to return the file to its original state if I do ever need to revisit them. Keeping melodyne inactive also prevents it from using up unnecessary power on my computer.

Screen Shot 2017-12-03 at 23.04.51


Backing vocal tracking

For todays session we focused on tracking all of the backing vocals for the project. This was also the last recording session of the project before the moving onto the mix prep and mix stage.

Due to the availability of the multi track studio and a fault in studio 3, I was unable to get into either studio for this session which posed as a potential problem. However, I was fortunate enough to know someone how owned a small studio called UPR Records a few miles from where I live where I could record these last parts. I told the owner about the project I was working on and he agreed to let me use the studio for a few hours.

Working in UPR allowed me access to some different hardware as well as some different microphones. The studio was equipped with a Behringer X32 digital mixing desk which allowed the use of numerous forms of processing before sending the audio into Pro Tools. The studio also had a Rode condenser mic which I found to be a little thinner sounding compared to the AGK C414 i’ve previously been using.

In terms on processing, I applied a lot of similar techniques I used back in my lead vocal tracking session. I used the built in HPF to remove everything below about 60hz and the built in compressor to reduce the dynamic ever so slightly. It’s important to note that i didn’t go too excessive with the EQ and compression here mainly because I wasn’t use to the room, the sound of the hardware I was using and the monitors I was listening through. Being subtle with the processing also meant that I could take it home and process it further on speakers that i’m more comfortable with.

IMG_6573


Lead vocal editing

Now that I have numerous takes of all the lead vocal tracks, I can now begin selecting the best parts and get rid of all of the unwanted parts.

I began by going through each vocal line of each track and chose the best take which then went onto a separate playlist. Doing this provided a much more consistent vocal track and was already more pleasing to the ear. This is a technique i’ve witnessed first hand from Neil Haynes at The Parlour Recording Studio when my own band band worked with him and is something i’ve applied to my own work ever since. Chris Lord-Alge also emphasises this point and suggests that its crucial for keeping your session organised and manageable. I then ran the comped vocal track through melodyne to fix some tuning issues which were missed in the comping stage. Running the vocals through melodyne at this stage helped them sound more natural when being tuned as the notes were already closer to the desired pitch. I’ve previously found that the more out of tune the vocals are, the more artificial they sound when correcting them.

Screen Shot 2017-11-22 at 23.44.14        Screen Shot 2017-11-22 at 23.59.18

Once I was happy with the melodye that I had applied, I then recorded the audio out to a new track so that I could hide the original track track and make it inactive. I did this because i didn’t want melodyne to constantly be using unnecessary power from my computer and to ensure my session was more organised. Doing it this way also means that i’ve also got the original files if I did ever need to revisit them for some reason.

Doing all of the editing, comping and tuning at this stage will save a lot of time and effort as appose to doing so just before the mix stage and is something that Mike Senior highly recommends doing as part of the mix preparation.

Screen Shot 2017-11-27 at 18.43.14


Mike Senior – Mixing Secrets

Lead vocal recording

Today the main objective of the session was to record all of Daves lead vocal parts whilst making sure that i touched on learning outcome 1 and learning outcome 3.

From my research, a common technique applied by a lot of the big producers is to use a valve condenser microphone running into an independent (sometimes also valve) hardware pre-amp, through an external compressor and then into Pro Tools. For example, Jacquire King likes to use his own Sony C37A through a Neve 1073 or a 1081 and then run it through an LA-2A compressor. Jim Abbiss on the other used a Neumann M149 valve microphone on the Arctic Monkeys debut album which he then ran through a UA 1176 compressor. I used this research to inform my own decisions at the beginning phase of vocal production.

Unfortunately the uni don’t have any valve microphones so instead I opted for the AKG C414 due to its flat EQ response. I used the pre-amps on the Audient desk and then ran the signal through the Drawmer  DL241. When applying the Drawmer into my signal path, it was clear that its main use was going to be catching some of the harsh transients coming from Daves voice and before relying too heavily on the Drawmer, I asked Dave if he would be able to pull back from the mic a little bit when singing at a louder volume. However when he tried this I felt like the vocal performances were not a lively and I decided to apply harder compression on the Drawmer to combat this.

Once setting the threshold and the ratio, I altered the attack and release time to try and catch some of the transients, with this technique being inspired by Jimmy Douglass. Doing this helped to reduce these transients significantly however there were still a few transients that were slipping through and I think this mainly down to the compressor not a having a short enough attack time. I could’ve combatted this by adjusting the ratio and threshold eve further however I decided not to so that I didn’t run the risk and of over compressing and squashing the signal.

Once I was happy with the signal going into Pro Tools I recorded a few takes of each track so that it gave me more options during the editing and comping stage.

FullSizeRender

Jim Abbiss https://www.soundonsound.com/people/jim-abbiss

Jacquire King, Lowell Reynolds & James Bay: Recording Chaos And The Calm https://www.soundonsound.com/people/jacquire-king-lowell-reynolds-james-bay-recording-chaos-and-calm

Mixing Justin Timberlake Vocals – Jimmy Douglas https://youtu.be/PpIanhvC9qw