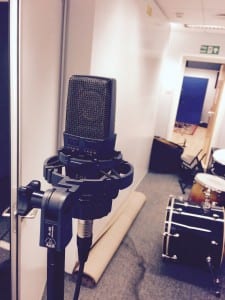
Today I worked with Dave on tracking all of the bass parts for this project.
Prior to this session I conducted some research on different bass production techniques used by various producers and if there were any specific types of equipment or hardware that were popular for this. Although I found a vast array of different techniques, I found that a lot of producers favoured the use of the DBX 160 compressor for bass to help reduce its dynamic range including Jacquire King, Joe Chiccarelli and even Mark Ronson who uses the Waves plugin equivalent. I also used a technique applied by Warren Huart where he adjusts the attack of the compressor to print a bass track into Pro Tools which stops the bass from ‘fish tailing’.
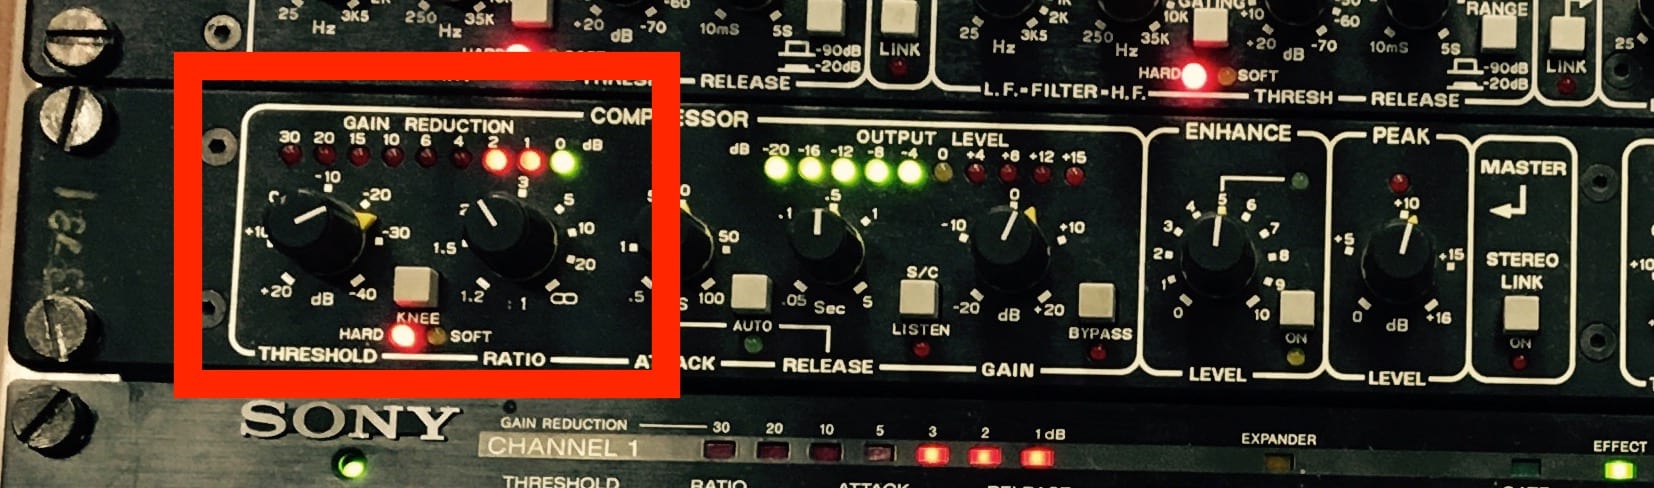
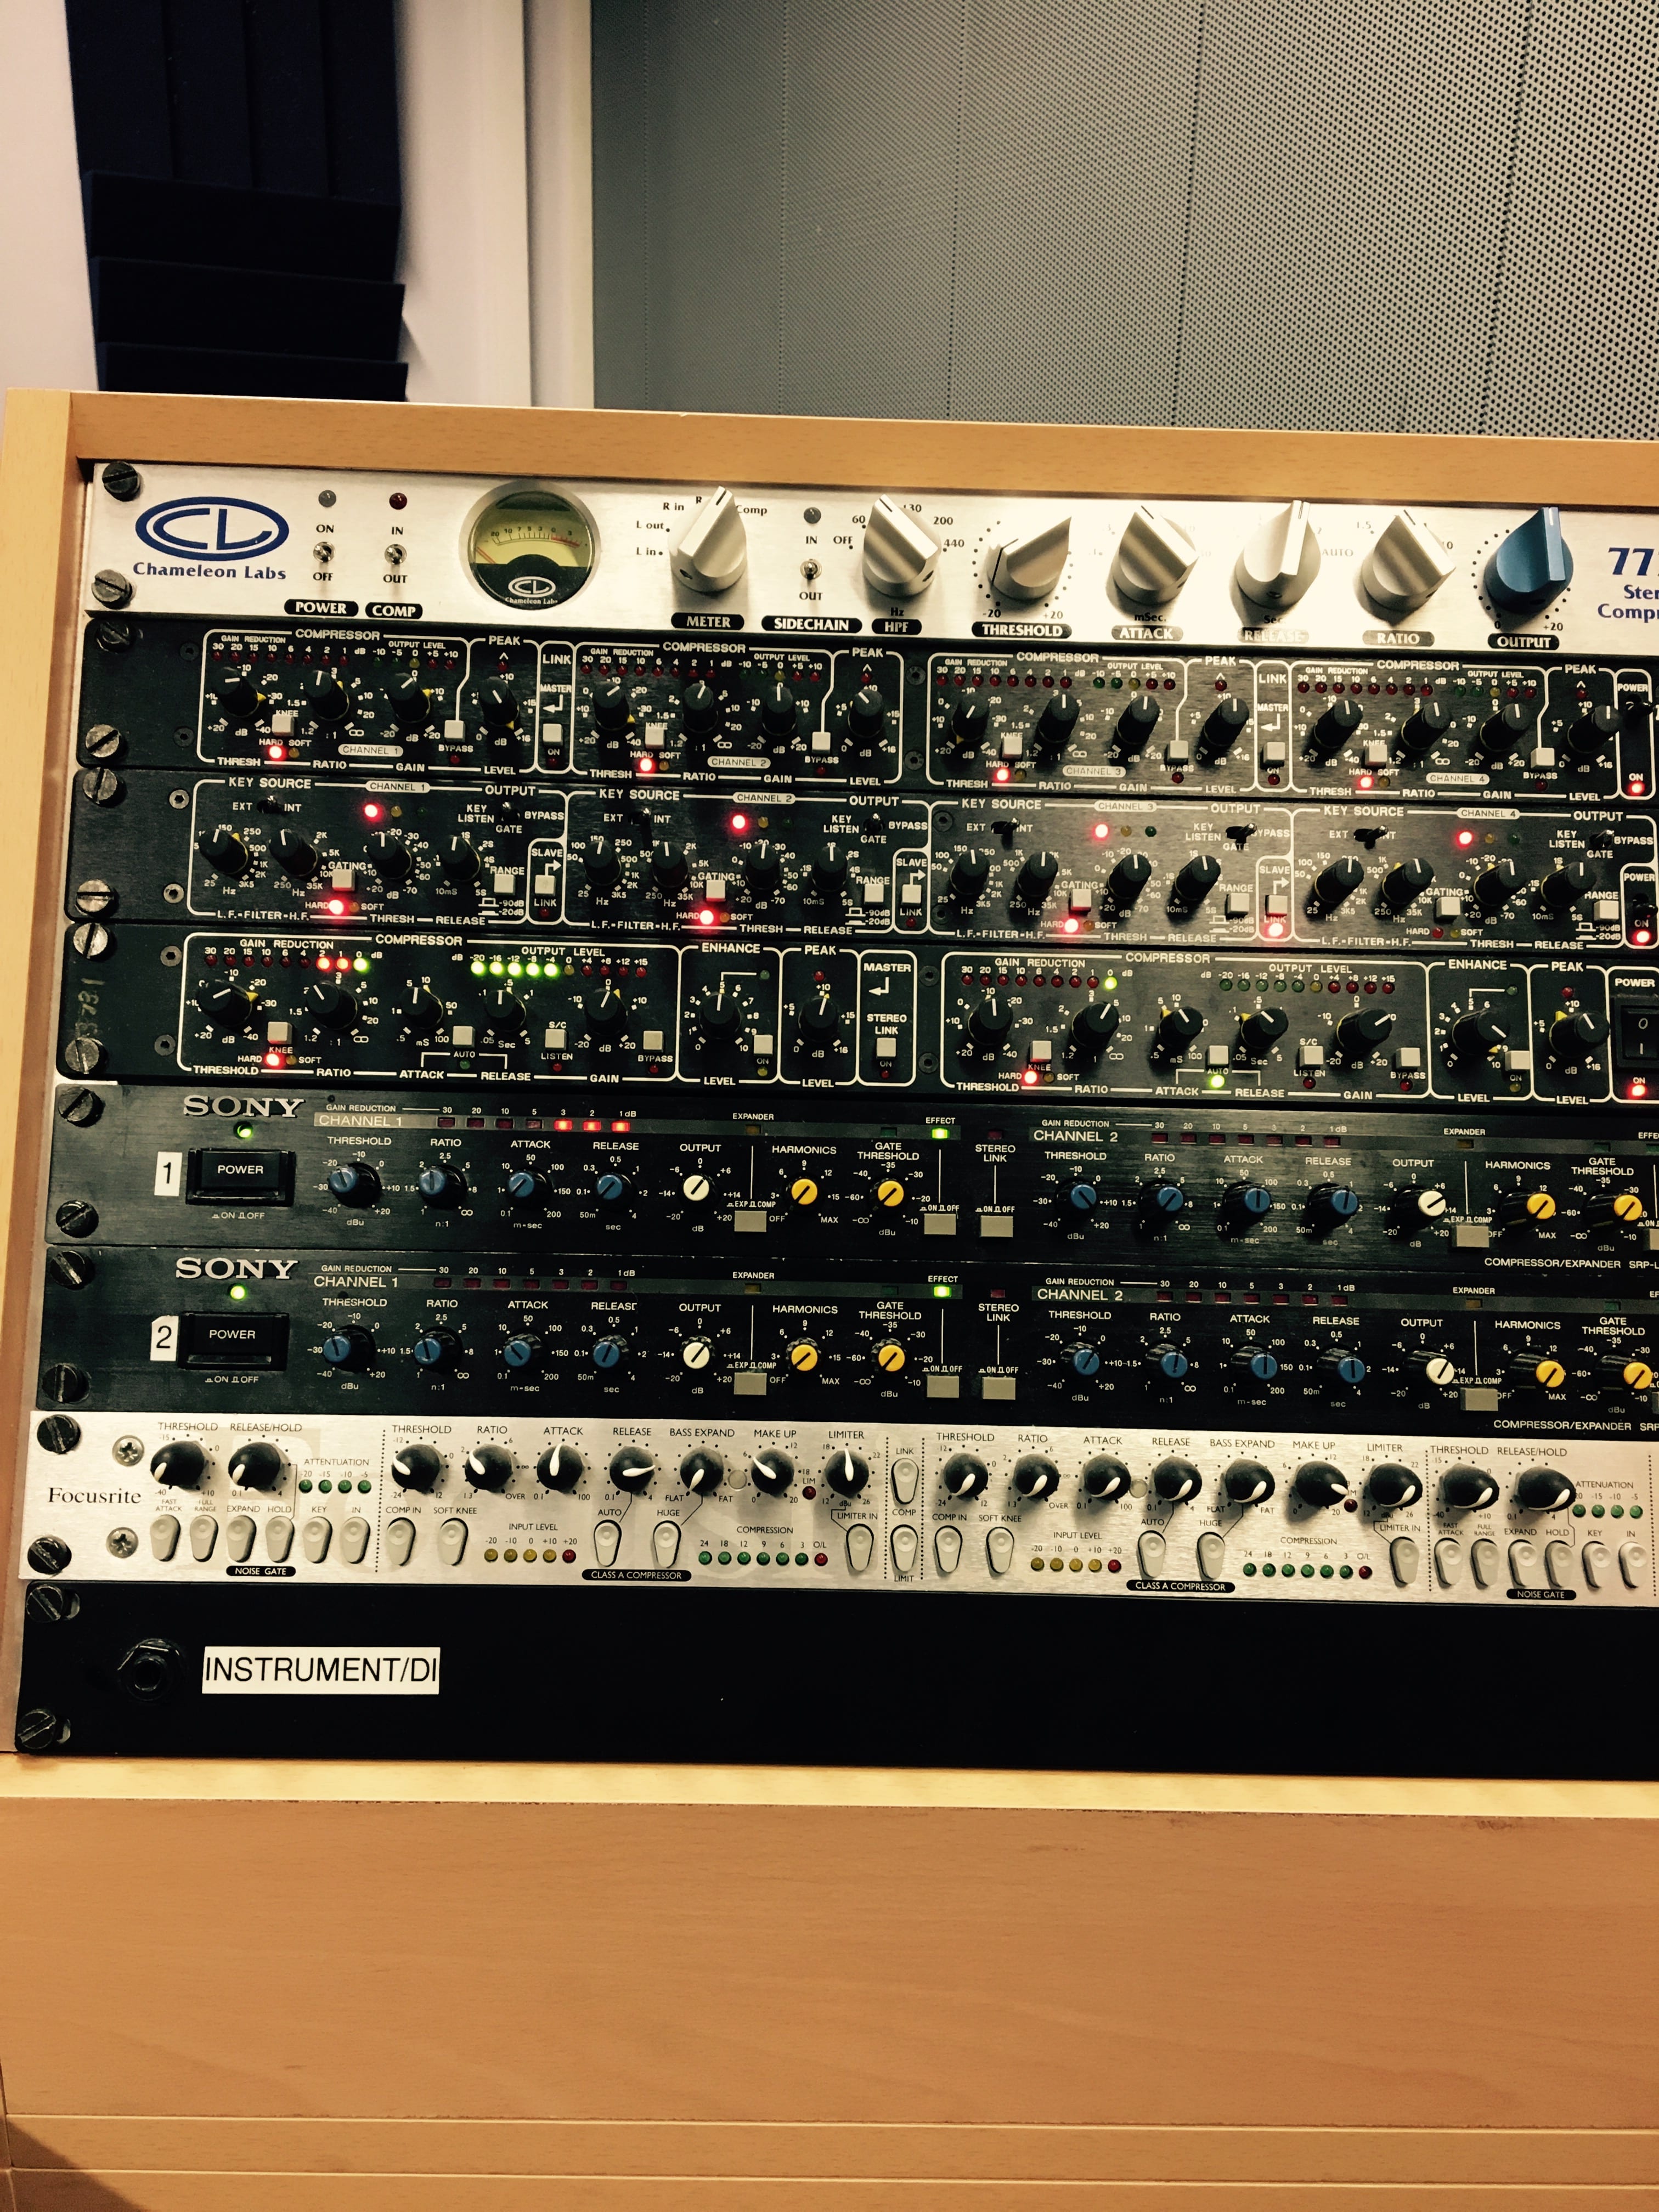
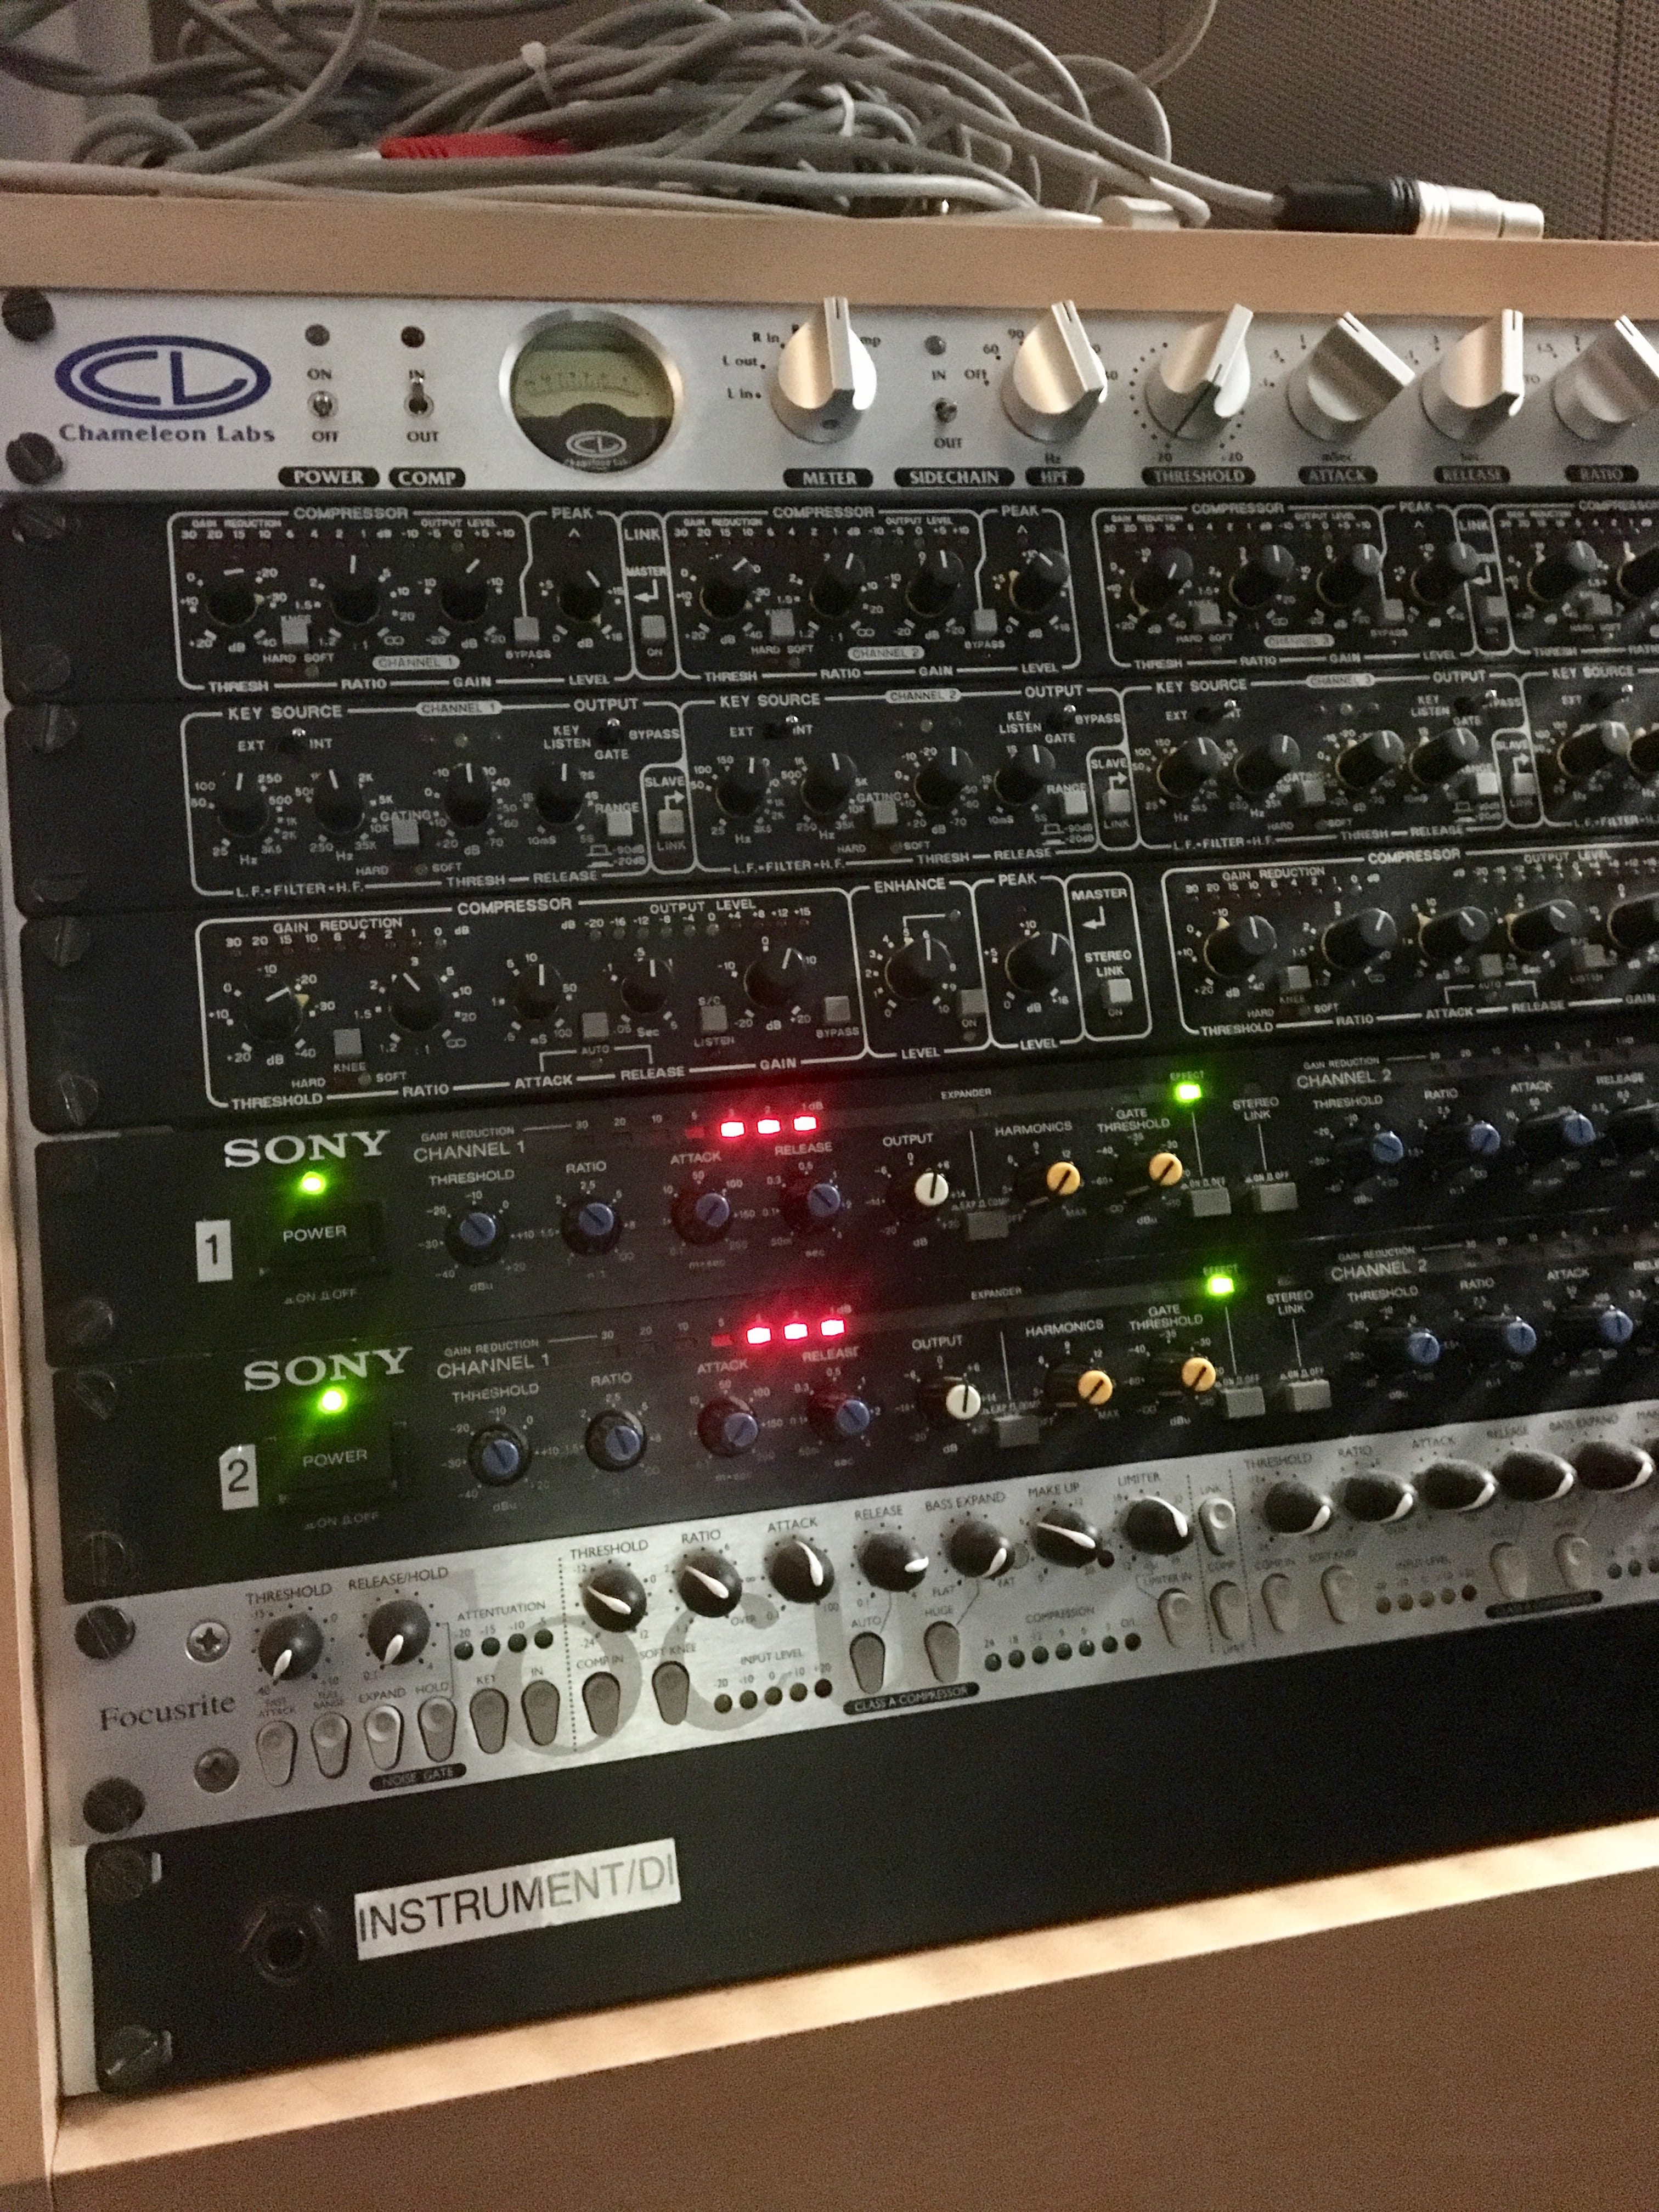
When applying these techniques into my own session, I used the pair of Sony SRP-L210’s to compress the bass amp and the bass amp DI. A quick point here is that I decided to leave the bass guitar DI channel raw and uncompressed so that I could use it as a backup if I needed it further along down the line. I adjusted my gain structure to the appropriate level and then began setting the threshold on the compressors to achieve around 3-5 dbs worth of compression. I did actually have an EBS bass compressor pedal on me for the session however using the hardware in the studio gave more flexibility when it came to adjusting the ratio and the attack.
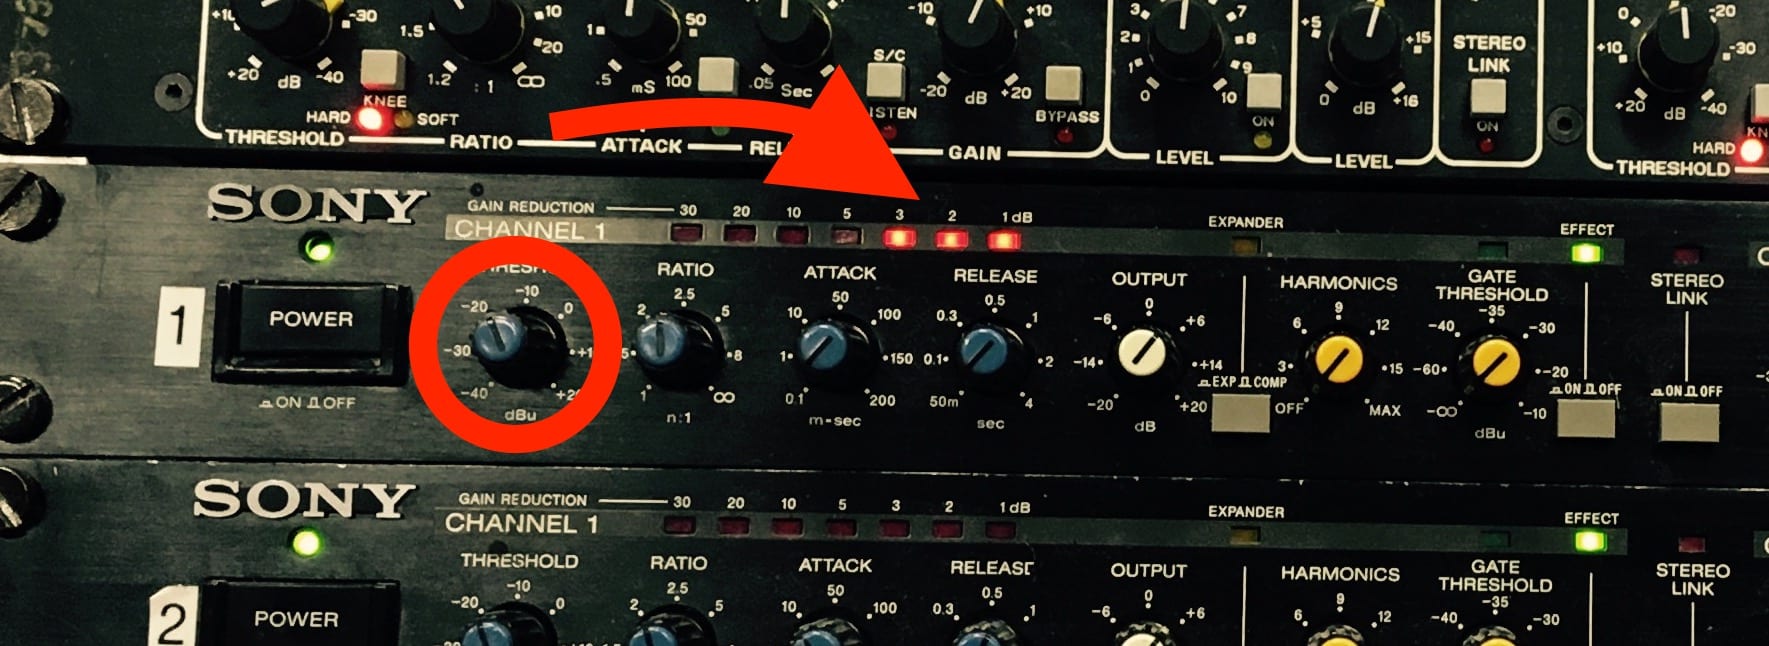
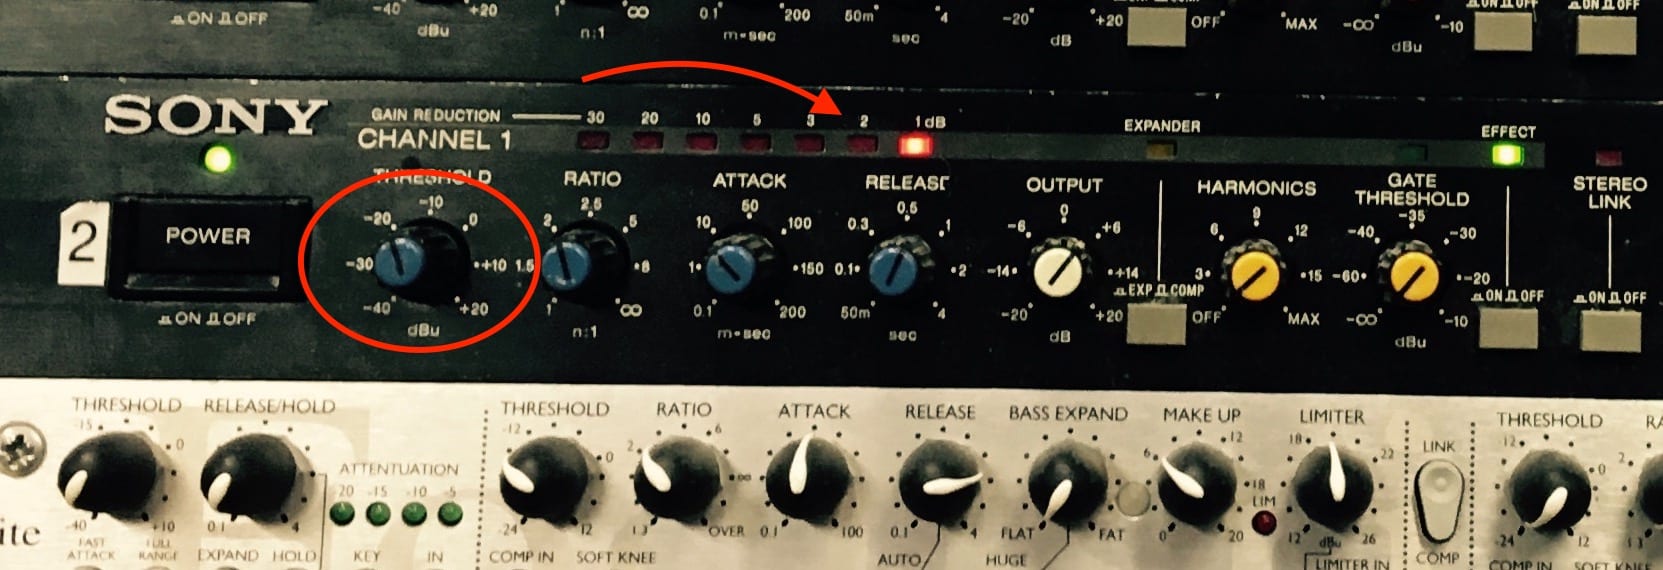
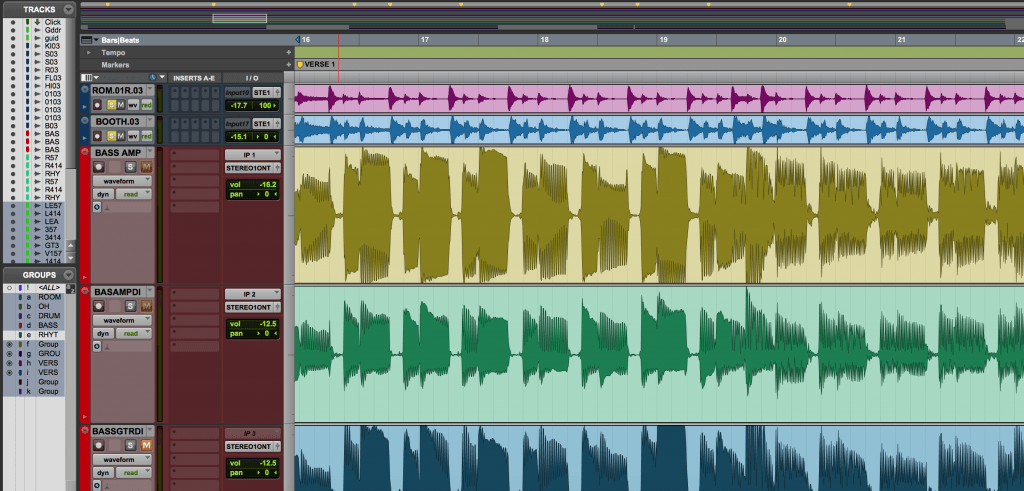
Applying the necessary amount of compression to these two channels really helped warm up the overall sound of the bass as well as control the dynamic range. The main reason I wanted to reduce the dynamic range like this is because when Dave was recording his bass takes, there was a significant dip in volume when he played the higher strings which prevented us from getting a stable level for the control room mix. Once I was happy with the compressed bass tone, I noticed that the signal was still ‘fish tailing’. To prevent this I increased the attack time on both of the Sony compressors which didn’t eliminate these sharp transients completely but it definitely helped reduce them. The pictures below show the ‘before’ and ‘after’ of the adjusted attack time of the compressors.
Before: 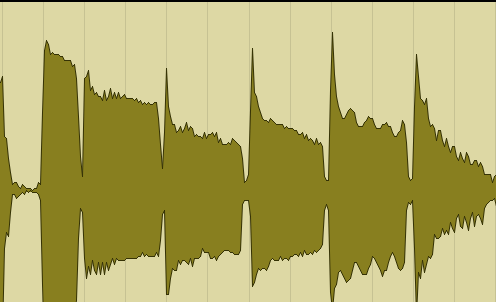
After:
Jacquire’s Shoot Out: Vintage Hardware vs. Apollo & Unison / UAD Plug-Ins https://youtu.be/D0TrTPAXM1I
In the Studio with Mark Ronson https://www.waves.com/in-the-studio-mark-ronson?utm_source=wnletter&utm_medium=email&utm_content=studio-mark-watch-now&utm_campaign=weekend-newsletter-oct-13-2017-ronson-mR
Recording a Band with Joe Chiccarelli https://www.youtube.com/watch?v=rjFPQFjIEdo
How to Record Bass – Warren Huart: Produce Like A Pro https://youtu.be/9F5XgkvGuSE